Monday, April 29, 2013

Bending the Bomars


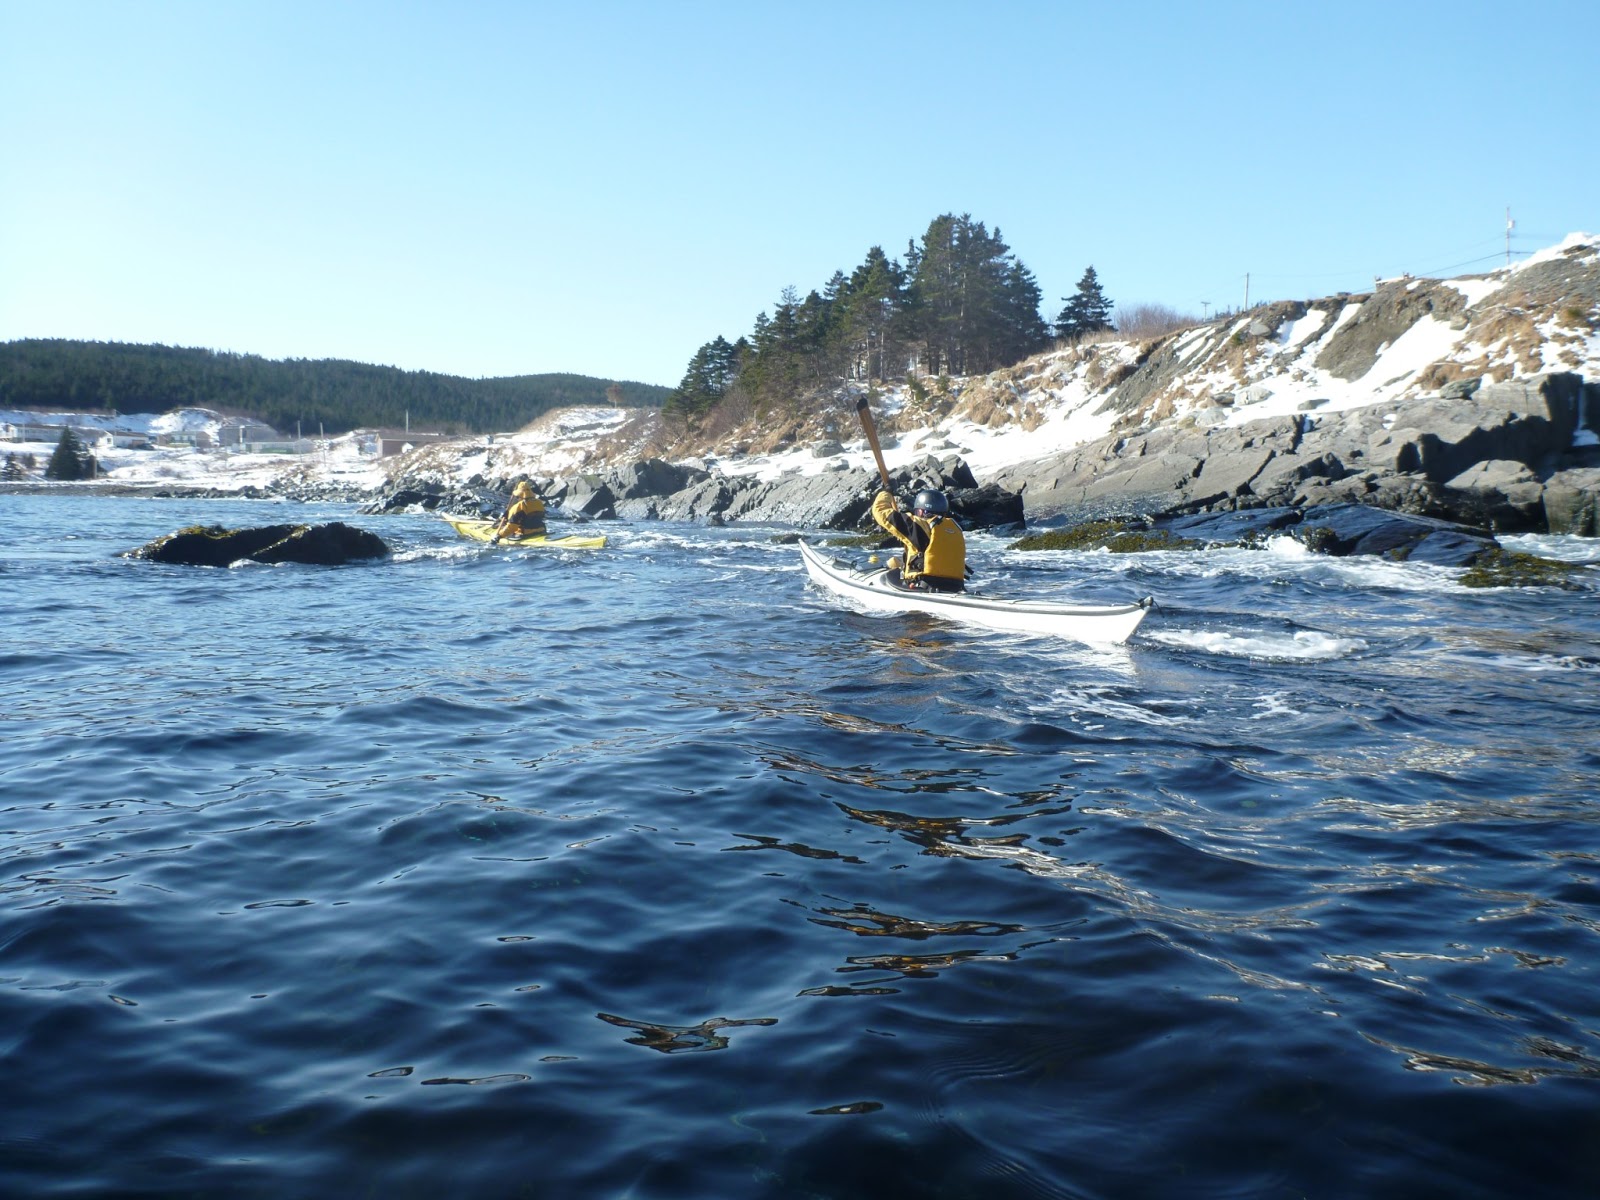
The Bomar deck plates I installed in the Black Pearl never kept out the water like I hoped they would. Sometimes they would remain "relatively" dry while other times, they would leak like freakin' sieves!! It was starting to get on my nerves.  You see, the Black Pearl is a very low volume boat and is, first and foremost, a roller. In other words, the decks (and hatches) are almost always either awash or completely under water. Leaky hatches are not a good thing in this type of craft!!!

I could never figure out why sometimes the front would leak while others it was the rear. That is, until I looked at one of the hatches and saw that it was slightly bowed. In other words, it could not get a good seal. So, depending on whether I had that plate in the front or back (they are not tethered) that is where the most leaking occurred

With this knowledge, I decided to take out the twist and make the hatch perfectly flat. Which I did. But after some testing, it was still leaking. The hatches, while tight at the toggle handle and lip opposite, were pretty slack on either side. I decided to take it one step further and put a pronounced curvature in the hatches. With the side of each hatch slightly curved down, once the handle was clamped down, the sides would be forced as well. In theory anyway.

Time to test!!


Pre-bending the hatch.

Using a heat gun to soften the material.

Cold water to "set it up"

Voila. Nice curvature.

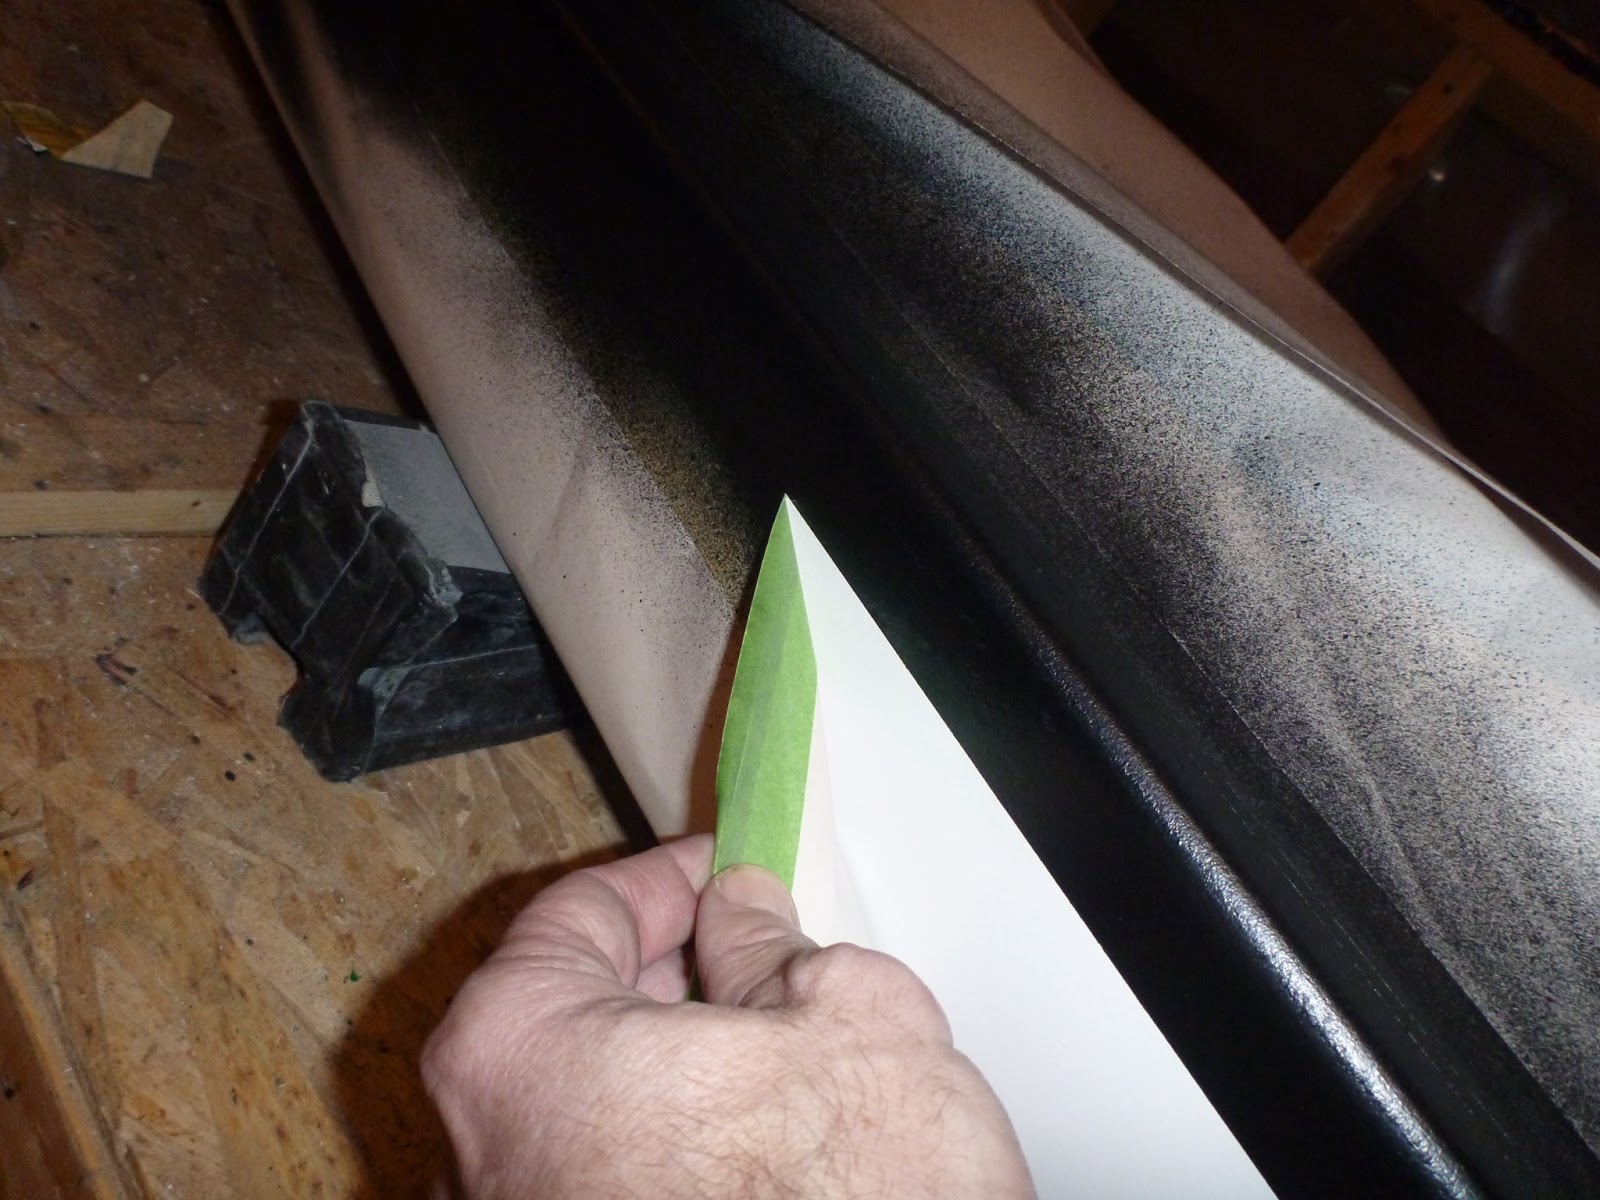
Prior to making the curves, these hatches would simply slip into the coamings and a twist of the handle would slightly clamp them down - but no real pressure on either side. In the image below you can see that by now clamping the handle, there will be increased pressure on the sides!


Even with the extra sealing pressure from the curvature, I was still getting some leaking. I knew that I needed to make the rubber gaskets a little higher for added hatch to coaming contact!!  I decided to go with bicycle inner tube. In the picture below you can see that I laid a layer of inner tube under the existing gasket and pressed it into place. The two fit perfectly with a nice tight seal. No need for any adhesives or sealers.

Inner tube undeneath.

A little bit of trimming of the excess tubing. Tube and gasket pressed into place.

The addition of the inner tube raised the gasket just slightly but certainly enough to increase the pressure between the hatch and sealing edge on the coaming. Pressing the hatch into place now takes a little bit of effort and the locking of the handle gives that extra little sealing power!!!


I did some testing by throwing buckets of water over the hatches and, unlike before, there is no water, whatsoever, entering the boat. Off to the pool tomorrow night (Tuesday) for the real test.

Fingers crossed!!!

Sunday, February 17, 2013

Tors Cove to Lamanche


Six paddlers.
Eighteen kilometers
One great time.

21 pictures.

'nuff said!!


Sunday, January 20, 2013

Point Bennett Project - Devil in the Details and a Maiden Run


I'm finally in the home stretch on this project. I just had a few small things to take care of before the boat was finished. I spent a relaxed Saturday evening in the attic with a few beers!! Below are a few shots of some of the final details!!


Paddle park on the rear deck!

DIY toggle from t-pipe!!

Paddle park - rear deck.

Heat shrink neatens things up nicely!!

Just another angle #1!!

As a staunch Newfoundlander, and a bit anti-Confederation, to boot, I like to put a Republic of Newfoundland flag on the bow on all my boats. This one was no different!!

The finishing touch!!

Just another angle #2

Just after finishing work for the night, I checked my email and a few guys were heading out on Sunday AM for a paddle. The light bulb went on and I decided this boat was ready for the water!!


Ready to leave the shop!!

Sunday AM dawned clear but cold. -8 with a wind chill in the -12 to -15 range.  As good as any day to go for a paddle. I met Dean and Tony in St. Philips at 10:00 for a few hours on the water

See Tony's blog entry here and Deans here.

Those are some big icicles!!

A little bit of the ol' clapotis!!

Heading towards Portugal Cove!!

Heading back to St. Philip's.


Back through the channel!!

Picking our way through the pans!!

Looking cool!!

Back at the house, I took a few more shots of the boat. It was nice not to be confined by the size and lighting of the attic.

I'm a happy camper!!


The final product #1.


The final product #2


Well. I hope you've enjoyed reading about this project as much as I've enjoyed writing about it!!  I was in the attic today doing a bit of clean up and it seems almost lonely up there - like a friend has moved out!!  Still, it's nice to have the space back and the extra time to do other things!! Actually, I'm heading off to the attic now to get on the bike trainer - gotta fill that void somehow and exercise seems as good an idea as anything else!!

Thanks for dropping by,

Sean

Monday, January 14, 2013

Point Bennett Project - Painting and Things


Well, it's been close to two months since my last post but, of course, right in the middle of this was the Christmas Holidays when I chose to slow down substantially.

But, to make a long story short, I ran into a series of paint-related problems that set me back quite a number of weeks. And to be honest, I'd rather not provide specifics as it is quite a painful story. `Nuff said

Now, a quick update with few words but lots of pictures!!


Finally all painted  #1

All painted  #2

Painted - no hatch coamings at this point.

A better idea of the colour!

I managed to salvage the hatch coamings from the initial build and re-use them. Again I went with setting them in a bed of epoxy. I mixed up a batch of epoxy with lase printer toner to get a nice glossy black mixture which I proceeded to pour around the coaming. It flowed neatly all the way around and sealed everything up nicely.

FWD coaming in place.

 I wanted to have black sheers as well as more abrasion resistance under the deck netting and paddle parks. Like with the Black Pearl I went with aerosol truck bed liner. This stuff is tough as nails  - won't scratch and won't be marred by the tie down straps when they cinch down on the sheers during car topping


Masked and ready for spraying #1

Masked #2

 I'll admit that I had some misgivings about how it would turn out but when I removed the masking paper, I was very happy with the end result.


Not too shabby #1!!

 Anybody contemplating painting and needing very sharp/crisp borders, I strongly suggest the use of Frog Tape for the masking. This stuff was freaking amazing. No bleed through whatsoever. Thank gawd because this is NOT where you want to have messy paint lines!


Removing the Frog Tape

Not too shabby #2

 With the painting pretty well done, I moved onto some fitting out. I took the boat off the table for the first time in several months and actually sat in it!! It fits like a glove even without any customizing!!


On the floor for some cockpit fitting

 I used hot melt glue to hold the seat in for now. It's glued to a foam support underneath and then to the bottom of the hull. I also put in some foam thighbraces. I may need just 1/2" or so of foam at the FWD bulkhead for a foot rest. I may or may not install a back band or pillar. I'll decide that later but I've been paddling the Black Pearl for close to a year with no back support!


Seat and thigh braces.

 The images below show some of the temporary deck lines and netting I have in place for "testing"


Looking aft.


Compass laid in place.


I actually found a pre-made net that was just the right size for the foredeck. It cost me $7.00 at a local motorcycle shop. They ordered it in for me and it was here within the week. You could not buy the bungee and make one yourself for that price. Also, this net has the smaller 2" squares - unlike most that you buy pre-made that have 3" square and are too big to be practical for holding smaller items on the deck.

I should point out that the skeg is now completely installed - including the control box!


Showing the skeg control box in place

Showing the neat lines!

Foredeck showing netting in place temporarily for fitting purposes.

As it now looks!!!


So, that's the latest. Not a whole lot of building details because I feel like I've said it all before in my other build projects.  Still. it's nice to show off some end products once in a while.

ETOW (Estimated time on water) is within a week. If not in the ocean, then next Tuesday at the pool!!

Thanks for stopping by,

Sean