When I needed a seat for my new boat, I set to cannibalizing my plastic Baffin. First, I liked the seat and second, it fit in the new boat perfectly. Of course, this left a perfectly good boat without a seat. There was the option to replace the seat with a factory one but it would cost 160.00 plus tax and shipping = around 200.00. Ouch!!
I decided that I would build one out of foam. So I set to work but was not getting anywhere. It was a warm (relatively) day and I was working outside. Outside the shed stood two lawn chairs destined for the garbage next week. Suddenly I had the craziest idea - "I wonder if I could make a kayak seat out of a lawn chair?' I seem to recall seeing it done but did not know how well it would work out.
 |
| Your garden variety lawn chair!! |
I simply started hacking, trying to get the chair to, at least, fit inside the hull. I made one cut that proved wrong but was later easily fixed by some West System G-Flex epoxy which is specifically designed for use with plastic.
 |
| First round of hacking and one bad cut. These "L" shaped pieces proved invaluable when left in place. The back was too high as well for comfortable lay backs. |
B E G I N P A D D L I N G I N T E R L U D E
Having been cutting and fitting for about an hour and making some good headway, I put the seat away for a while so that Cheryl and myself could take our 11 year old daughter for a scoot about in St. Philips. Bridget showed an interest in going so we made hay while the sun shone.
 |
| Following Bridget out! |
 |
| Cheryl (l) and Bridget (r) |
 |
| Bridget all decked out in a drysuit and Greenland paddle! |
 |
| Cheryl and Bridget stopping for a snack of almonds! |
It was a nice little excursion about the harbour and it helped Bridget gain some confidence on the salt water. She handled her boat very well even though a good breeze came up and she even had to punch out through some waves after landing by herself on the beach. She's on the way!!
E N D P A D D L I N G I N T E R L U D E
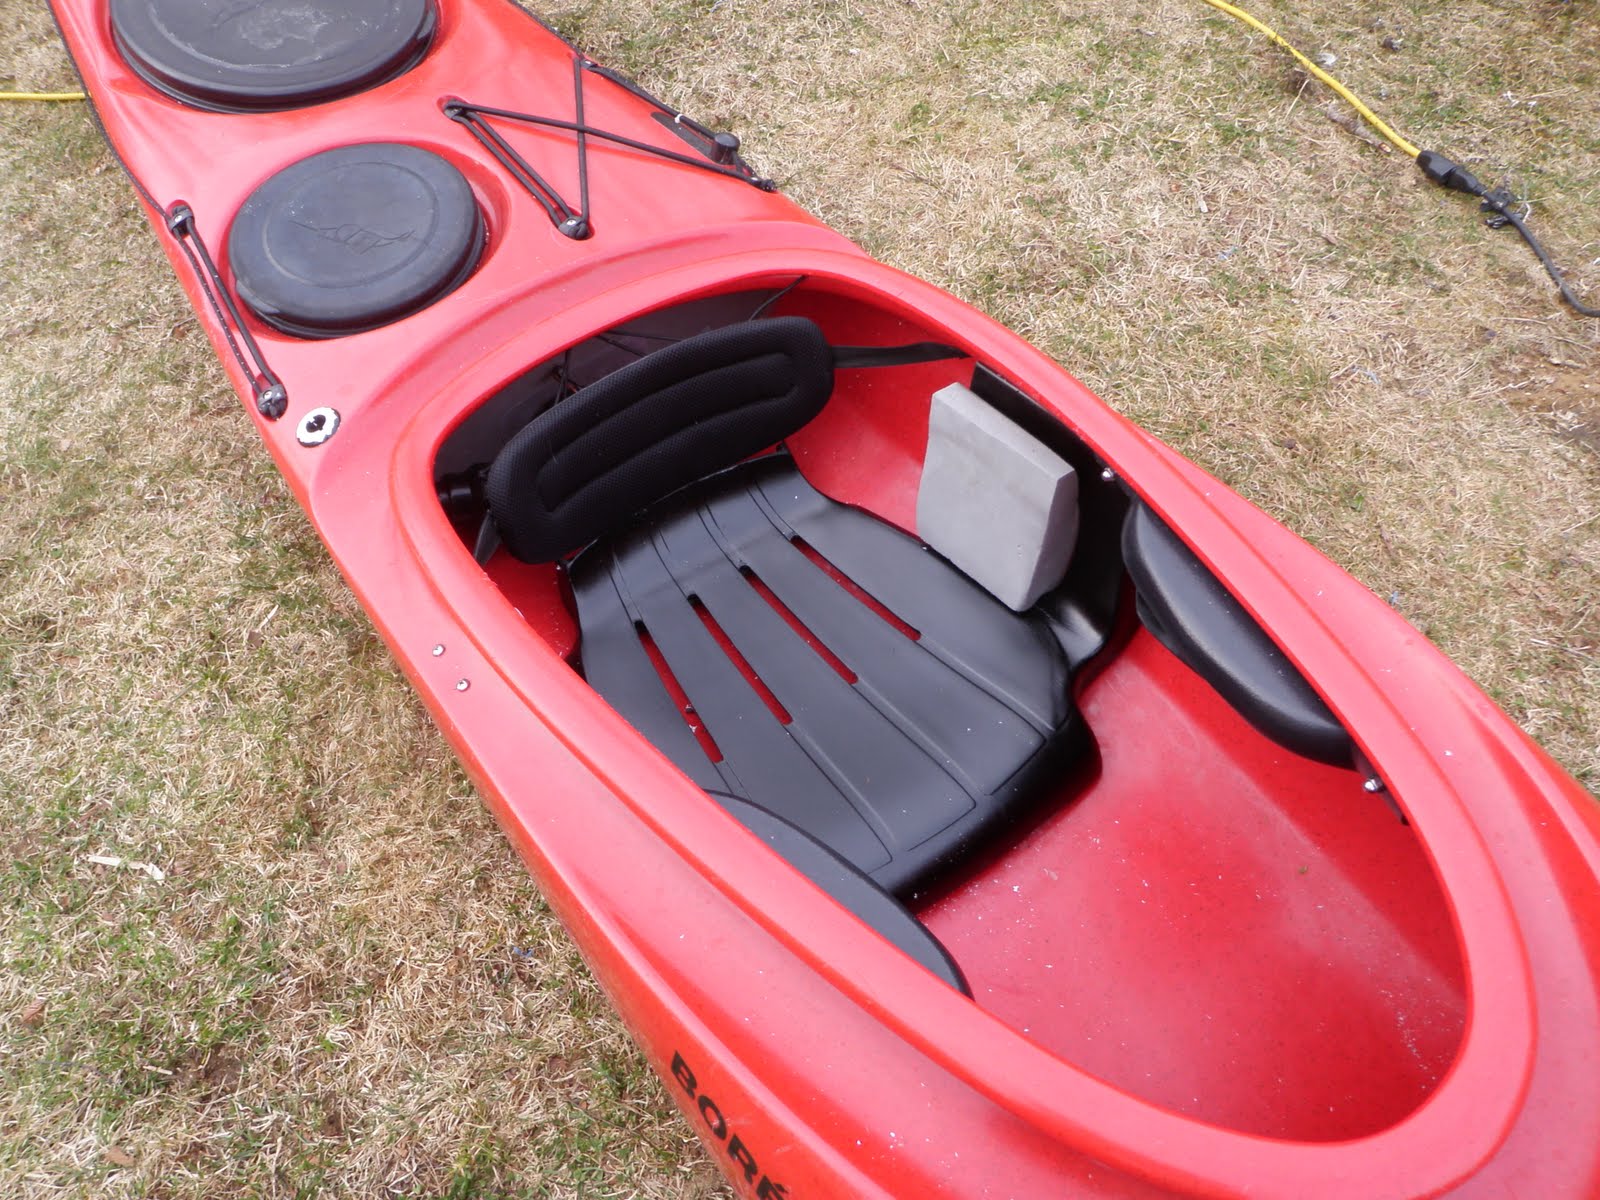
As for the seat, I splinted and epoxied the mistaken cut and later that night I sanded and painted. Here's the final product:
 |
| Painted and the back trimmed to the right height. |
The "L" shapes that I retained where perfect for bolting the seat to the boat - as per the existing holes in the hull! I reused the back band that originally came with the boat but did not use with the new one as I am experimenting with the foam pillar with that boat. I popped in the foam hip pads as well. Total installation took no more than 15-20 minutes.
 |
| Back band and hip pads in place. |
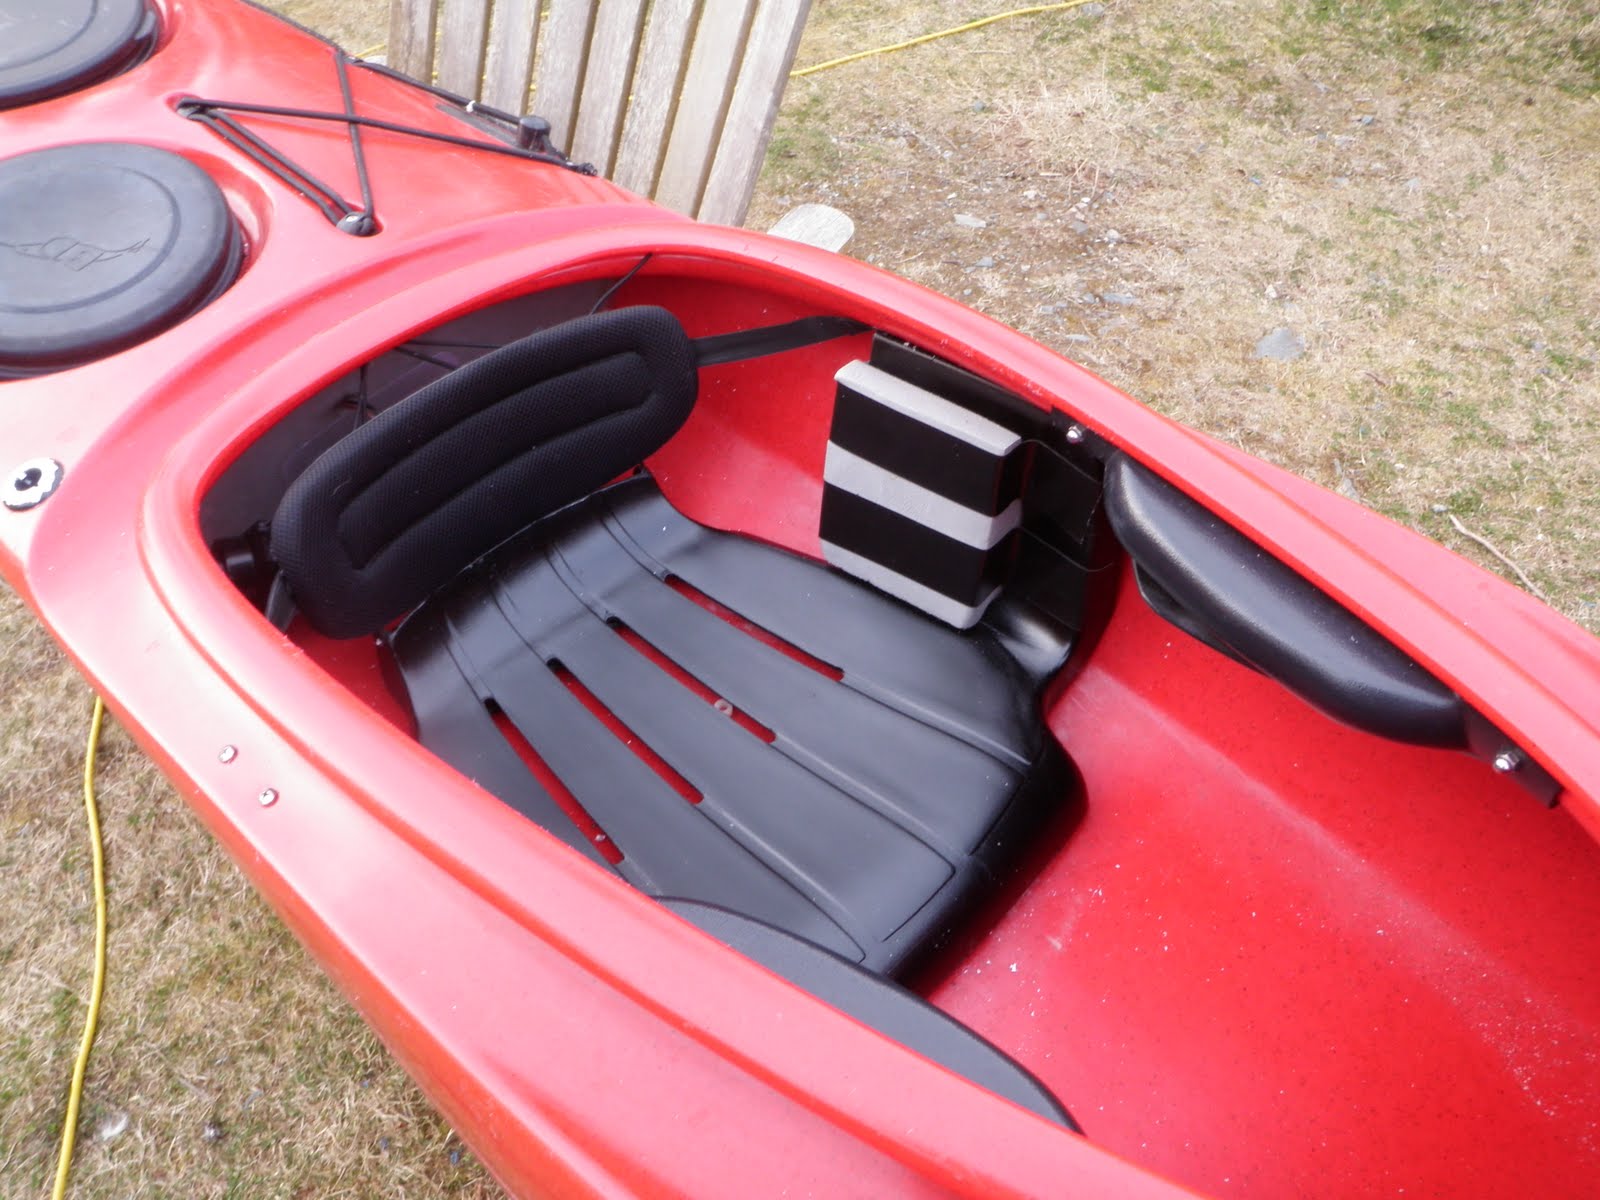 |
| For now the hip pads are held in place with Gorilla Tape. |
While it may look nice, it feels even nicer. I was truly amazed at the level of comfort from this simple setup. It's actually more comfortable than the setup I have in my new boat!! My intention is to have Cheryl use this boat so I had her come outside and sit in the boat. I could tell from the initial look on her face that she, too, found the seat quite comfortable! She feels the way I do about this setup. I can't wait to give it a whir!!
And that, my friends, is some good recycling!!