Well, it's been close to two months since my last post but, of course, right in the middle of this was the Christmas Holidays when I chose to slow down substantially.
But, to make a long story short, I ran into a series of paint-related problems that set me back quite a number of weeks. And to be honest, I'd rather not provide specifics as it is quite a painful story. `Nuff said
Now, a quick update with few words but lots of pictures!!
 |
| Finally all painted #1 |
 |
| All painted #2 |
 |
| Painted - no hatch coamings at this point. |
 |
| A better idea of the colour! |
I managed to salvage the hatch coamings from the initial build and re-use them. Again I went with setting them in a bed of epoxy. I mixed up a batch of epoxy with lase printer toner to get a nice glossy black mixture which I proceeded to pour around the coaming. It flowed neatly all the way around and sealed everything up nicely.
 |
| FWD coaming in place. |
I wanted to have black sheers as well as more abrasion resistance under the deck netting and paddle parks. Like with the Black Pearl I went with aerosol truck bed liner. This stuff is tough as nails - won't scratch and won't be marred by the tie down straps when they cinch down on the sheers during car topping
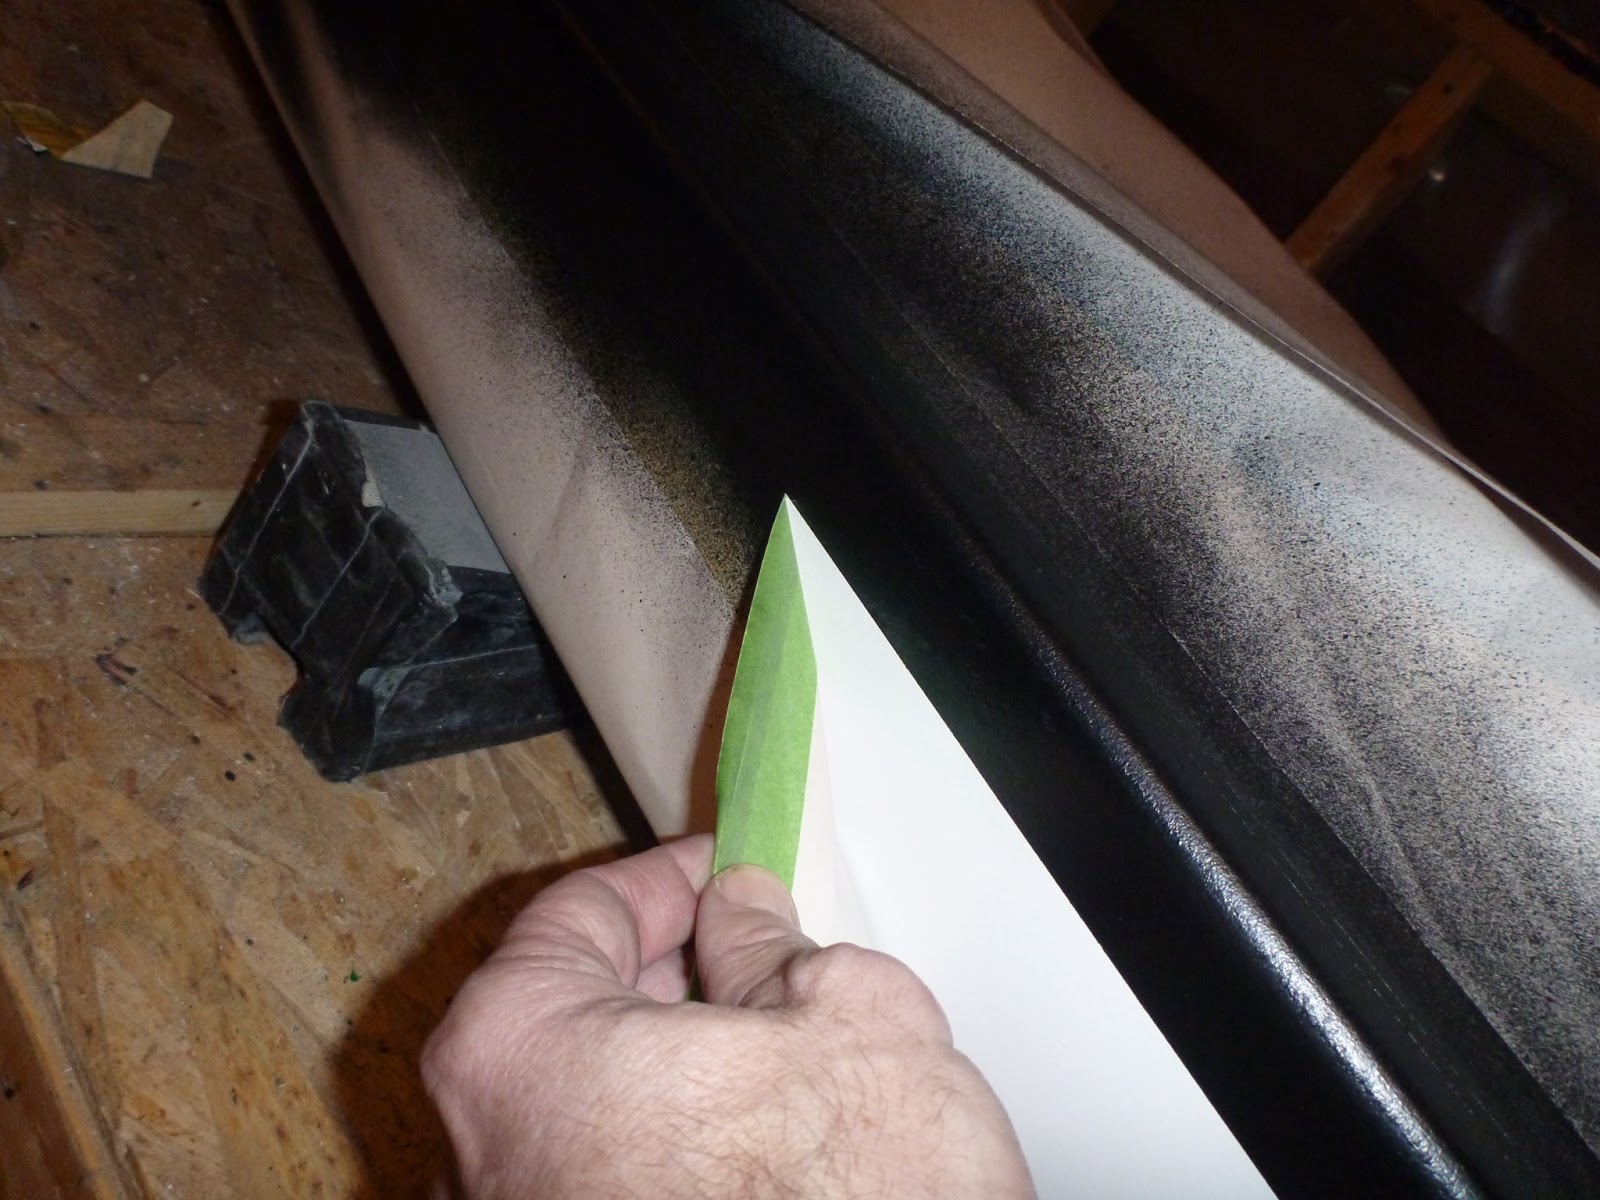
 |
| Masked and ready for spraying #1 |
 |
| Masked #2 |
I'll admit that I had some misgivings about how it would turn out but when I removed the masking paper, I was very happy with the end result.
 |
| Not too shabby #1!! |
Anybody contemplating painting and needing very sharp/crisp borders, I strongly suggest the use of Frog Tape for the masking. This stuff was freaking amazing. No bleed through whatsoever. Thank gawd because this is NOT where you want to have messy paint lines!
 |
| Removing the Frog Tape |
 |
| Not too shabby #2 |
With the painting pretty well done, I moved onto some fitting out. I took the boat off the table for the first time in several months and actually sat in it!! It fits like a glove even without any customizing!!
 |
| On the floor for some cockpit fitting |
I used hot melt glue to hold the seat in for now. It's glued to a foam support underneath and then to the bottom of the hull. I also put in some foam thighbraces. I may need just 1/2" or so of foam at the FWD bulkhead for a foot rest. I may or may not install a back band or pillar. I'll decide that later but I've been paddling the Black Pearl for close to a year with no back support!
 |
| Seat and thigh braces. |
The images below show some of the temporary deck lines and netting I have in place for "testing"
 |
| Looking aft. |
 |
| Compass laid in place. |
I actually found a pre-made net that was just the right size for the foredeck. It cost me $7.00 at a local motorcycle shop. They ordered it in for me and it was here within the week. You could not buy the bungee and make one yourself for that price. Also, this net has the smaller 2" squares - unlike most that you buy pre-made that have 3" square and are too big to be practical for holding smaller items on the deck.
I should point out that the skeg is now completely installed - including the control box!
 |
| Showing the skeg control box in place |
 |
| Showing the neat lines! |
 |
| Foredeck showing netting in place temporarily for fitting purposes. |
 |
| As it now looks!!! |
So, that's the latest. Not a whole lot of building details because I feel like I've said it all before in my other build projects. Still. it's nice to show off some end products once in a while.
ETOW (Estimated time on water) is within a week. If not in the ocean, then next Tuesday at the pool!!
Thanks for stopping by,
Sean