Sunday, October 23, 2011

Stick a fork in me, I'm done - again!!

Having built two boats in less than six months, I find myself just repeating blog entry names. Back in March I posted a blog entry with almost the same name when I was nearly finished the Point Bennett! Now, almost a month and a half after launching the Disko Bay, I am safe in saying that the boat is finally complete!!

Today, I made the decision that the deck lines were going to be finished. I've had the rope for several weeks but never got around to putting it on! It was a lovely fall day. It was sunny and warm so I dragged the boat out of the basement, popped into the back deck and set to work!! Besides the decklines, I also need to do some final touches on the back rest.

I've not decided on what type of flotation I will finally go with but for now I've got the fore and aft sections blocked with swimming noodles. Before drilling the holes for the aft deck lines, I had to take the noodles out.

How many noodles does it take the fill the aft hull?

Yep, all that foam does fit in there!

I originally had a foam pillar for a backrest but was finding that it created too much of a pressure point. I whipped up a new backrest with floor tile foam and it's working out great. I can add spacers behind it to change the angle. I made it to fit snug and added two wooden pegs to hold it in place.

Back band in place.

Peg to stop it from slipping forward.

The fwd hull is also stuffed with noodles and in order to keep them in place, I've cut and put in place a foam bulkhead . This bulkhead is not fastened but held in place merely by being pushed in tightly. Not a perfect fit but it works for testing purposes. I will replace with a better fit if the noodles actually work out.


This version of the Disko Bay, as it has a larger cockpit, does not have a true masik. As such, I've created one out of foam. It is put in place after you get in the boat and is removed before you exit. It acts a brace for your thighs for paddling and rolling. In the event of an emergency exit, it will simply pop put of place.

Foam masik
I used black rope for my decklines and maple for the links. The holes in the gunwales are sealed with black Goop. The following images show the lines and fittings and need no description.

In the meantime, I'm more than pleased with the outcome!!


Club Paddle - Aquaforte, October 22, 2011

KNL, traditionally, has its final club paddle in September but this year it never materialized - in that month anyway. Word went out from Gerard, a.k.a. G-man, that a paddle was being planned for the weekend of October 22-23. The weather proved more than favourable and crew of 11 paddlers showed up for a lovely-tell-yer-Mudder-kinda-day on the bay. Below are all the shots I took that day. Sorry, nothing spectacular but they'll do!!


Heading out!!

Hanging out!

Da b'ys!


Peter cruising along with Ferryland in the background!

At the Arch!

Neville in the "Alex" position!


Gerard in a cave, as per usual!

Great spot for a bite!!


Lots of water in the river!

If you look really close you will see Peter in the lower left of the falls


Our illustrious leader, G-Man!

Monday, October 3, 2011

Blowing a gasket . . .


Well, I had a feeling it was going to happen soon. While the suit is only 15 mos old, I could see tell tale signs that the neck gasket was getting soft. To be honest, I always thought that this particular gasket was rather thin. This was nice as it was not too restrictive yet it gave a good seal. Anyways, I was finally giving my suit a much-needed wash after the paddle on Sat when I noticed that the latex looked cracked. I stretched it a bit with my fingers and whammo, it ripped from top to bottom in one quick tear.  Not that I wanted this to happen but it's better to have it happen at home than on the water somewhere!!

I'd done gaskets before so I was not fazed by the prospect of having to replace it. Actually my first gasket was not a replacement but rather a new installation. Cheryl's suit had a neoprene collar and I installed a new latext gasket. That was a much harder job than just replacing an existing rubber gasket.


Split from stem to stern!!
A quick call to the Outfiters confirmed that they had an XL gasket in stock - thank gawd!  Last time I did a neck gasket I borrowed the wooden discs and ring from a fellow paddler. This time I decided to make my own because a) I know I'd need them again sometime in the future and b) the individual I borrowed them from last year is "in between" houses right now and I rather not bother him to find them for me.  A few pieces of scrap 4mm plywood and 30 minutes of work and I had my own set of jigs.  The instructions provided by Kokatat gave sizes that did not work with the gasket I had purchased so I had to re-work the inside diameter of the ring to accommodate the difference in size.

I'm not sure if this is "standard" but the old gasket was stitched to the suit fabric and sealed with seam tape. There was no glue/sealant on the gasket, itself. This made removal of the gasket a bit harder but I managed to get a pretty clean surface.

Wooden disk wrapped in wax paper and in position.

Getting ready to apply the Aquaseal.
Last time I did a neck gasket I had to use a wide variety of clamps and clothes pins and "what have ya" to hold the gasket in place while the Aquaseal setup. The biggest job was trying to get even pressure to prevent creep. But not this time!!! Schedule 40 clamps came to the rescue once again!!!  These simple little clamps are rapidly becoming my favourite tool - from hatches, to deck fittings, to cockpit coamings, to thigh braces, to gunwales, back to cockpit coamings and on to fabric skin.

Once I positioned the gasket in place, I simply ran a ring of Schedule 40s around the whole jig and voila - even pressure all the way 'round with no creep!! Also, I was not fighting with the extra weight of the metal clamps that have a tendency to pull the fabric downward and cause movement of the gasket.

Looks like some kind of insect!!

Modern art??

After making sure that the everything was seated propely I left the whole thing overnight. The next morning I pulled off the clamps, removed the jigs and  BADDA BOOM BADDA BING, a "factory" job

"Factory", as they say!!
The first time I tried this operation, I was covered in head to toe with Aquaseal, the gasket tried to creep off the jigs, I cursed and swore  etc etc. This time, it was almost too easy. Familiarity with the process and remaining calm are the big things - and, let's not forget that those Schedule clamps make all the difference in the world!!

Now I need to do a "real world" test  to see how it all works out, i.e., check for leaks!!  I'll also have to be bit more vigilant with the UV protectant as well!!

Thanks for dropping by,

Sean

Sunday, October 2, 2011

Absence makes the heart grow fonder . . .

There's an old saying that absence makes the heart grow fonder. In other words, if you're without something for a while, you'll find that you really like it or miss it!!  Today was the first time in some time that I took the Point Bennett (PB) out for a cruise. With the Disko Bay being the "latest thing", I've spent more time playing with it, figuring out its idiosyncrasies and trying to make it comfortable. In the meantime I've forgotten how the PB feels on the water. I've spent a fair bit of time/effort making the PB fit me and today, when I sat the cockpit, it all came back.  "Hand in a glove" is a term used to describe two things that fit well together. When I sat in my PB today, that is how I felt. I was home. I was comfortable.

PB waiting to hit the water at St. Philips

Today was an easy paddle. I sat in the back of the group and just tooled along - enjoying the lovely warm day, the bounce of the water. No need to push.  We had a headwind on the way up but nothing serious. On the trip back we had a following sea. I caught a few good waves and was quickly reminded how fast this boat can be. "Rocket" comes to mind!!  No skeg in a following sea means you have to rely on edging for control - maybe a bit of paddle rudder to keep you on track. All was good.

Today was a good day to remember that the PB is a damn fine boat to paddle - real sea boat!!

Sean


Sunday, September 25, 2011

Where it all began . . .


In the "About Me" section to the right of this post, you'll see that I mention making a skin on frame (SOF) kayak at the age of 13. For years (perhaps 30) this little boat has languished in the crawlspace under my uncle's log house. I knew it was there but never really bothered to look at it - until this weekend.

With the completion of my new SOF, the Disko Bay, I experienced a new desire to see the boat where it all began, i.e., my interest in kayaking and kayak construction. I decided to dig out the old boat and see how I made out with the build.

Before moving onto the pictures, there are a number of things you must take into consideration:

a) I was only thirteen,
b) I had never laid eyes on a real kayak other than in pictures,
c) I built this without any adult help whatsoever. My Dad worked at Horwood Lumber and provided me with the materials but everything else was done solo, 
d) I did not have a workshop. I built in the kitchen at first and later in a makeshift shelter outside and
e) I did not have a plan. I simply drew it up and went from there.

For 30 years in a damp, unheated, dirt-floored crawlspace, the boat has held up remarkably well. There is no rot in the wood and only one section of canvas has shown deterioration.

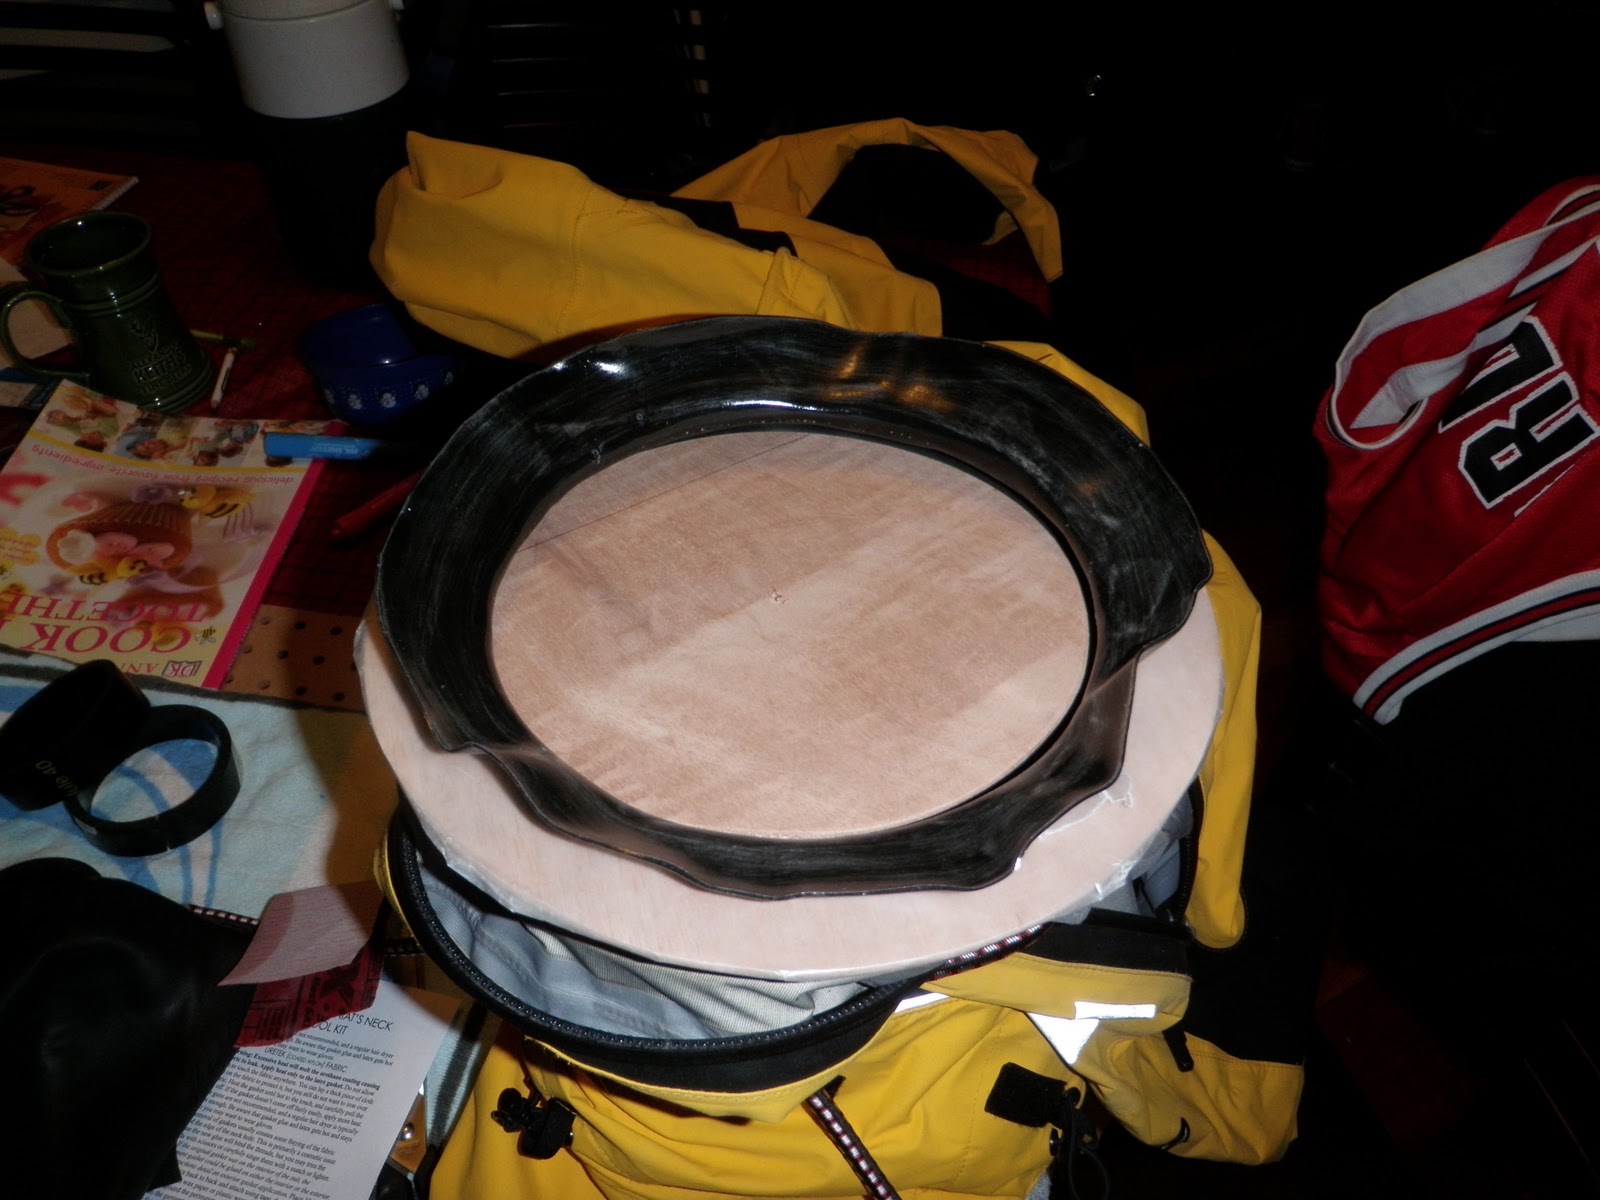
The boat measures 13' feet long by 21" wide with a foredeck height of 11". Initially the foredeck was flat with a very small opening for the legs. I found this too hard to enter so I raised the foredeck by adding a curved piece onto the existing frame. I then stitched in a new piece of canvas to accommodate the structural changes. This added piece of canvas is the only one showing significant damage.


When I raised the foredeck, I added two pieces of plywood to either side to give the cockpit a more oval shape than the initial fully open rectangle.  I added a backrest but I'm not sure why I made it pointy!?!?!? Not the best boat for doing layback rolls, what??


Cockpit looking fwd.

Showing the raised foredeck.
I'm not sure how I came to know about how to build a SOF but my construction techniques are not a whole lot different than those used on the Disko Bay.

You will notice that I screwed up on the stringer placements. Instead of placing the middle stringers at the chine, I put them in the middle. This resulted in the ribs/frames poking out the canvas. I did not notice this until I had the thing skinned and as the paint dried, it pulled the fabric taut and my mistake became painfully obvious. I always thought that is made the hull look like a starving cow!!

Looking fwd.

Port bow. Can't remember if the rocker was intentional or not.

Certainly not fancy but a good first try for a 13 yr old!!
If you are to paddle, then, obviously, you need a paddle. If you can build a boat, then you can build a paddle, I figured. My Dad gave me a piece of handrail and I fastened two plywood blades - and voila, an unfeathered kayak paddle. I re-found the paddle a couple of years ago in the woods and saved it from the elements by putting it in the shed. This weekend is the first time in 30 years that they've been reunited.

Boat and paddle - reunited and it feels so good.
I'm thinking that I'll put this boat in my basement now. It's dry and free of bugs or any other creatures who'd do it harm. It'll never hit the water again but it will hold it's place with my other boats.

As I was revisiting the past with this old boat, my Disko Bay was close by getting a new coat of paint. While these two boats are world's apart in finesse and craftsmanship, they are basically the same concept. It's just that one was built by a 13 year old boy with no knowledge of kayak design and/or construction. The other was built by a 45 year old man with a wealth of information found on the Internet and in books, with all the necessary tools and a workspace and with firsthand knowledge on how to actually paddle a kayak. All things considered, that 13 year old boy did alright, don't you think?

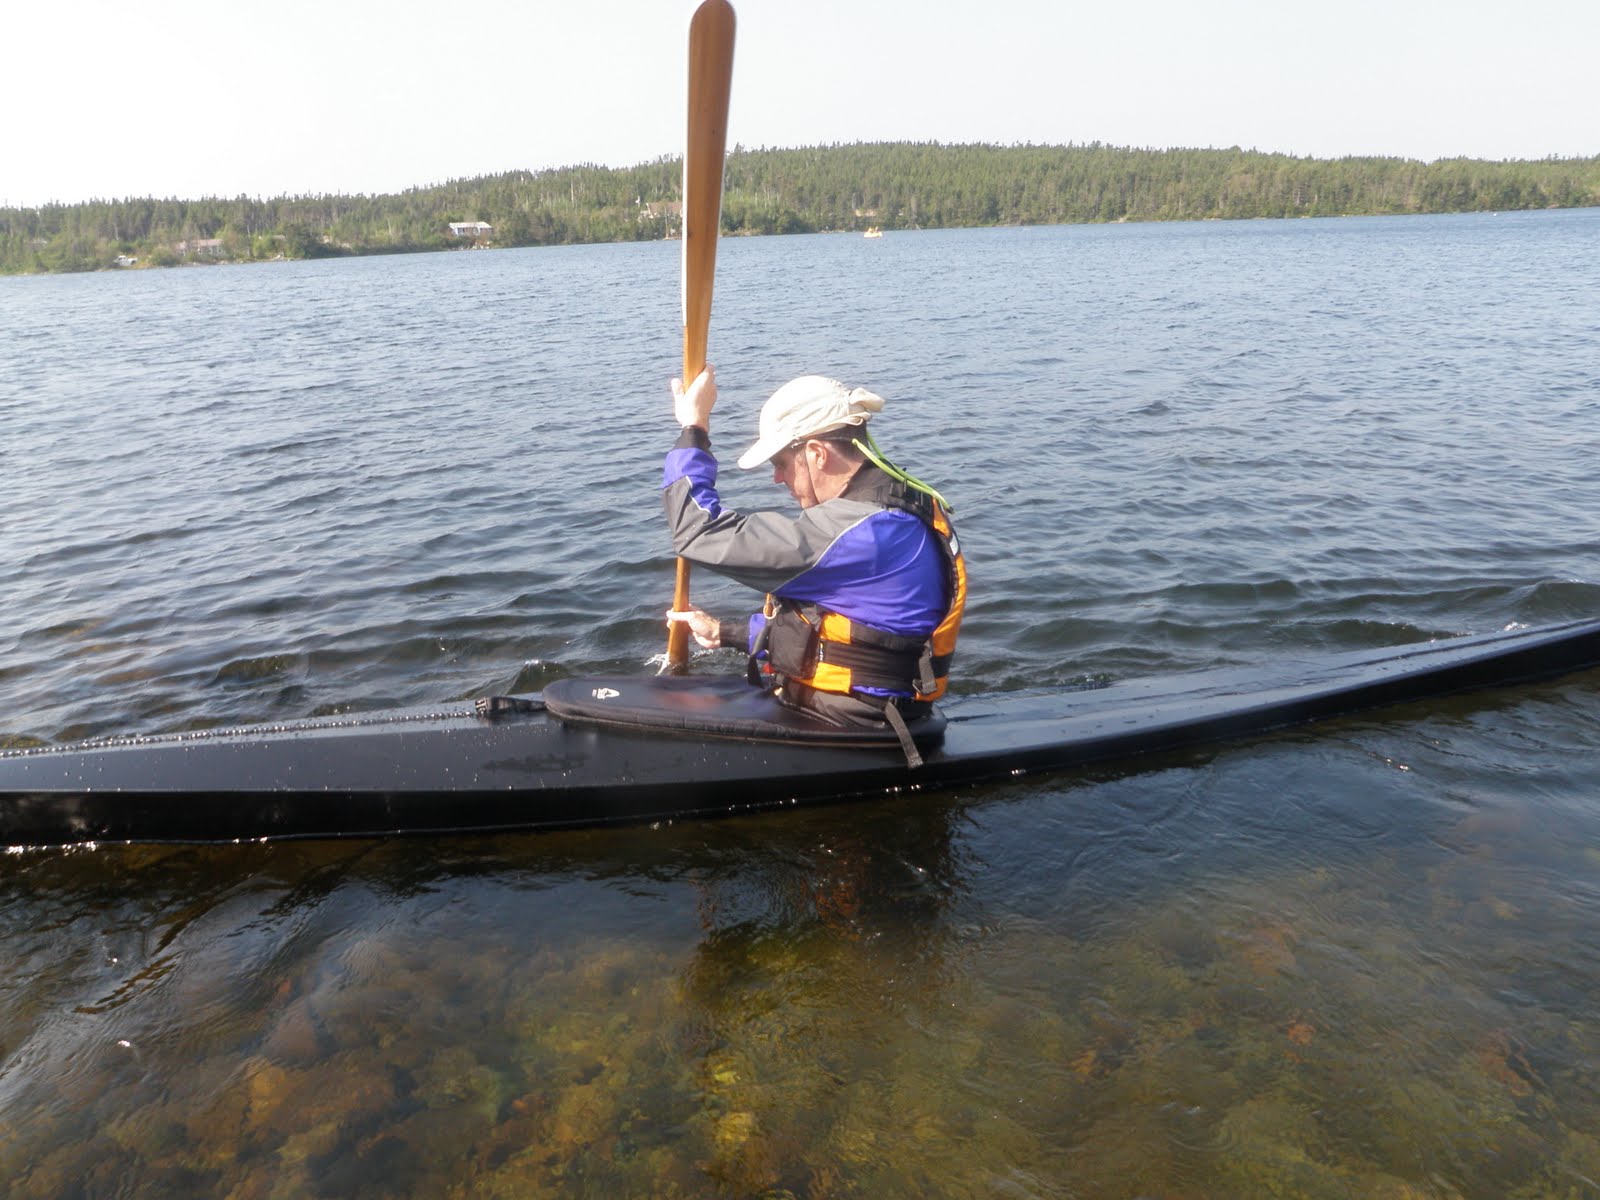
SOF - the latest iteration.

Hmm, this one doesn't look like a starved cow.

Thanks for dropping by and reliving a little history with me.

Sean

Tuesday, September 6, 2011

A house gives birth and a maiden voyage - yet again!!

Back in April of this year, I launched a new boat and I made a blog entry titled - A house gives and a maiden voyage. Well, now its just over 5 months later and I am making a second blog entry with the same name.

With the exceptions of deck rigging and stem/stern keel strips, my Disko Bay is finished.

Below are some pictures showing the boat leaving the house and of its maiden voyage.

Look familiar??

No snow on the ground this time!!

Disko Bay meeting the rest of the "family"

Hanging out by the pool, i.e, fish pond.

The blunt end!

The pointy end!!

Very nice profile!!

Very nice lines!!

Lean and mean at a mere  28lbs!!

Obligatory standing-on-end shot!

Baffin and Disko ready to hit the water!

I decided to take the boat to the pond for its maiden voyage. I made this decision for a couple of reasons - a) there was a bit of wind on the bay and I was not sure how the boat would handle, b) I was not sure how hard it would be launching from the beach and c) I do not have my flotation bags made yet.

Cheryl and I packed up the car, racked the two boats and hit the pond.

The boat certainly handled a lot better than the last time it was on the pond!!  Freeboard was a bit low, as to be expected, but at least it did not sink (hahahaha)

I'm not sure if the low freeboard is affecting edged turning but it seemed like the boat wanted to turn to the edged side as opposed to away from it. Still experimenting to check this out.

This boat is no pig. It can be brought up to pretty good speed.  Initial stability is a bit low but easily gotten used to!

As was anticipated, this boat rolls very nicely. The total height at the back (including the coaming) is just 6.75" so lay back rolling is a piece of cake. My first roll went so easy that I came flying up like a rocket. My current boat rolls easy but the force required for this one is far less - I guess I used too much power!!  Sculling braces are a breeze and balance bracing will come very easily!


Sittin' pretty!

Just scullin' about!!


Image form a video capture of sculling.
We spent about 1.5 hours puttering around the pond.

I'll admit that I was bit disappointed in how the boat felt and handled. It just seemed pretty much like any other of my boats - with the exception of the rolling and other stationary manoeuvres. I figured (hoped) it was just that it was new to me. We packed everything back up and headed home. On the way home we drove through St. Philips, an area where we often take short paddles. There was a good breeze blowing but the water at the shore was calm. A great chance to take the boat out on the salt water. I'm sure glad I did.

I launched without incident. The low masik on the boat makes my regular entry impossible - one leg followed by the other. This boat requires a lot more balance. Inside the harbour it was pretty calm - a good place to get a feel for the boat. As I moved out around the headland, the wind/waves increased a fair bit. The weather station at the local yacht club was recording winds of 14 knots at the time. Nothing out of the ordinary but at least it gave me a better feel of the new boat. After paddling for a few minutes, I came to a decision that this boat will never touch the pond again!! On the salt water it was a different beast. The movement of the water brought the boat to life. It seemed to turn quicker. It flexed with the waves. I was happy to see that it did not plow through the waves as much as I was expecting. It rode them quite nicely. There was enough wind and wave to create some surf-like conditions as well. I caught a few waves and the boat tracked nicely - it was not pushed off to the side, nor did the bow dig in nor the stern get pushed under. I was impressed given its low volume and my weight (just under 200lbs).


Putting in a St. P. There was a crowd of about 30 people on the beach!
In the end, I'm glad we made the detour to St. Philip's. It showed me the capabilities of this boat. Besides, it is a West Greenland replica, so shouldn't it be more at home on the salt water?  I think I'm going to enjoy seeing what it can do!!

Thanks for dropping by.